OUR PROCESS
Our 9-Step Process. No Shortcuts.
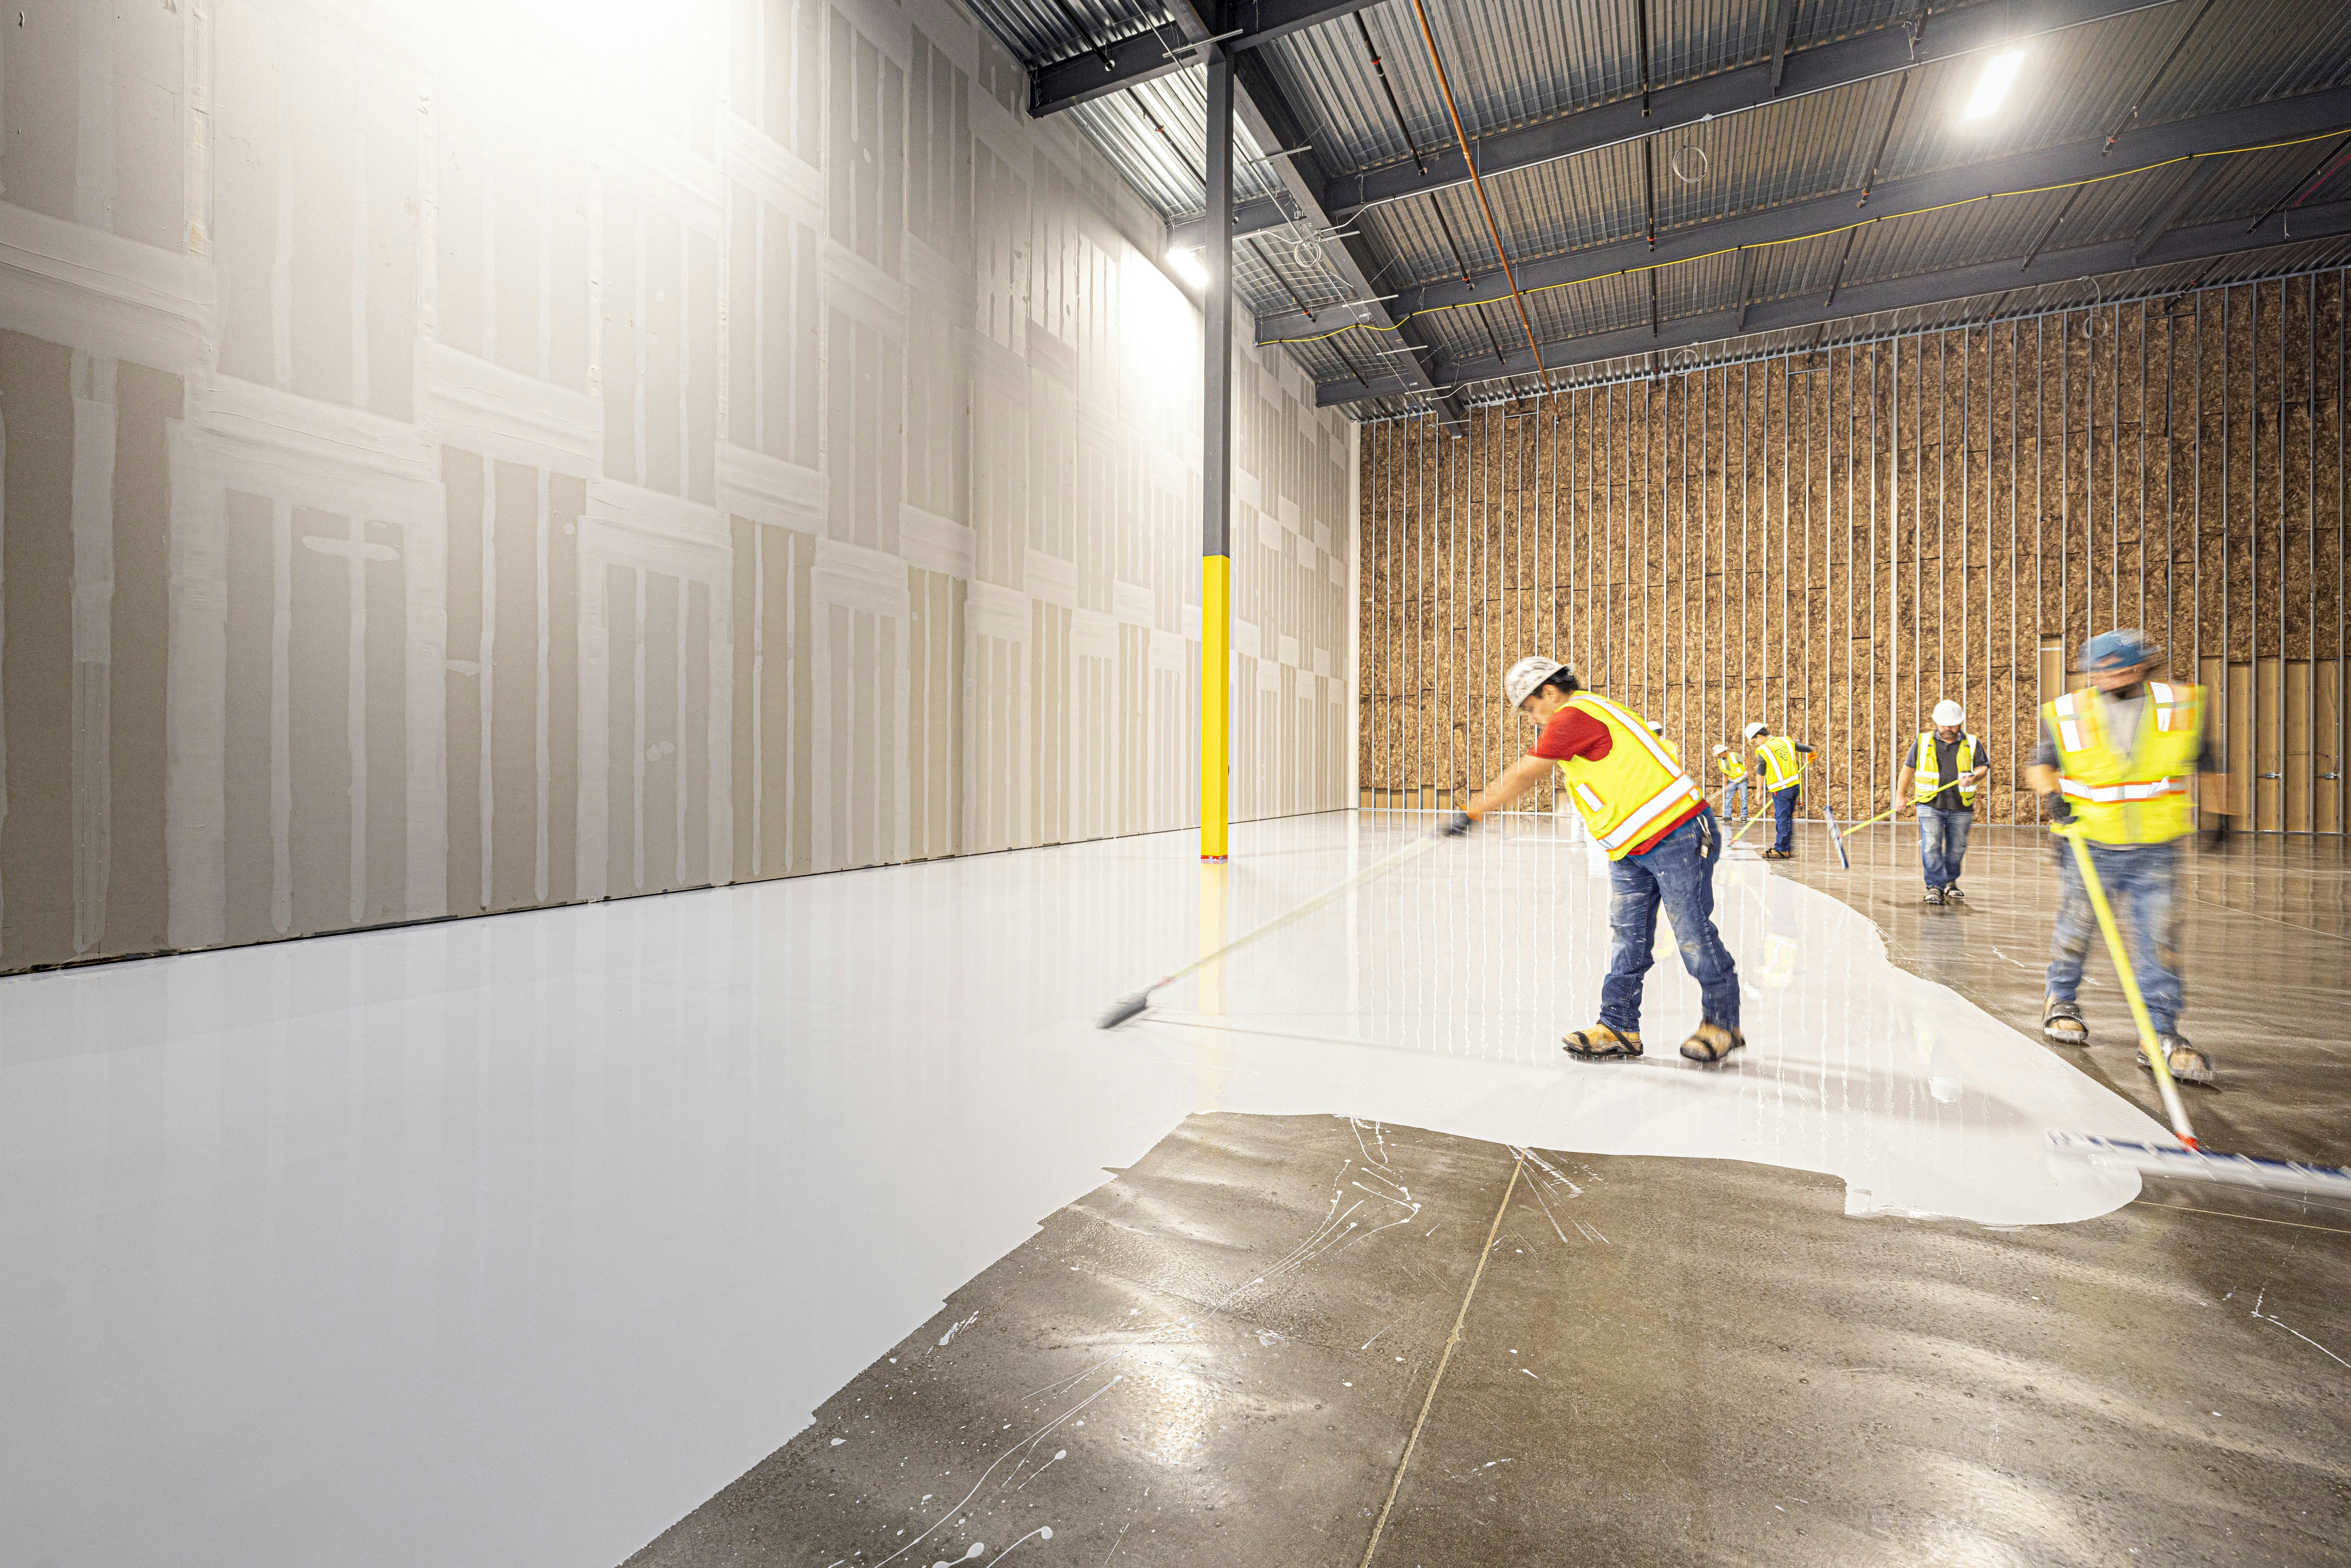
Every step matters. Most companies skip the hard work because it takes longer. We don't. Here's exactly what happens on installation day.
01
Initial Inspection & Moisture Testing
We evaluate the condition of your concrete, checking for cracks, pitting, oil contamination, and any previous coatings. Moisture testing is performed to ensure the slab is suitable for a long-lasting coating system.
Why it matters: Moisture is the enemy of adhesion. We check first so your floor doesn't fail later.
02
Mechanical Grinding & Surface Preparation
We mechanically grind your concrete using industrial diamond grinders to open the pores of the surface and create the right profile for adhesion. This removes contaminants, old coatings, and weak surface material. The floor is then thoroughly cleaned and vacuumed.
Why it matters: This is the most important step. It's why our coating bonds so well and lasts so long. We don't skip it—ever.
03
Crack & Surface Repair
All cracks, joints, and imperfections are repaired using high-strength fillers and patching materials. This creates a smooth, uniform surface and prevents future defects from showing through the finished coating.
Why it matters: A smooth surface means a flawless result. We repair what's there—we don't coat over it.
04
Optional Primer or Moisture Mitigation Layer
If your concrete requires it, a primer or moisture vapor barrier is applied. This step improves adhesion and protects the coating system from moisture-related issues.
Why it matters: Not every floor needs this—but when it does, we don't skip it.
05
Base Coat Application
A high-quality polyaspartic base coat is applied evenly across the prepared surface, forming a strong bond with the concrete and serving as the foundation of the system.
Why it matters: The base coat is what bonds to your concrete. Quality here means durability for decades.
06
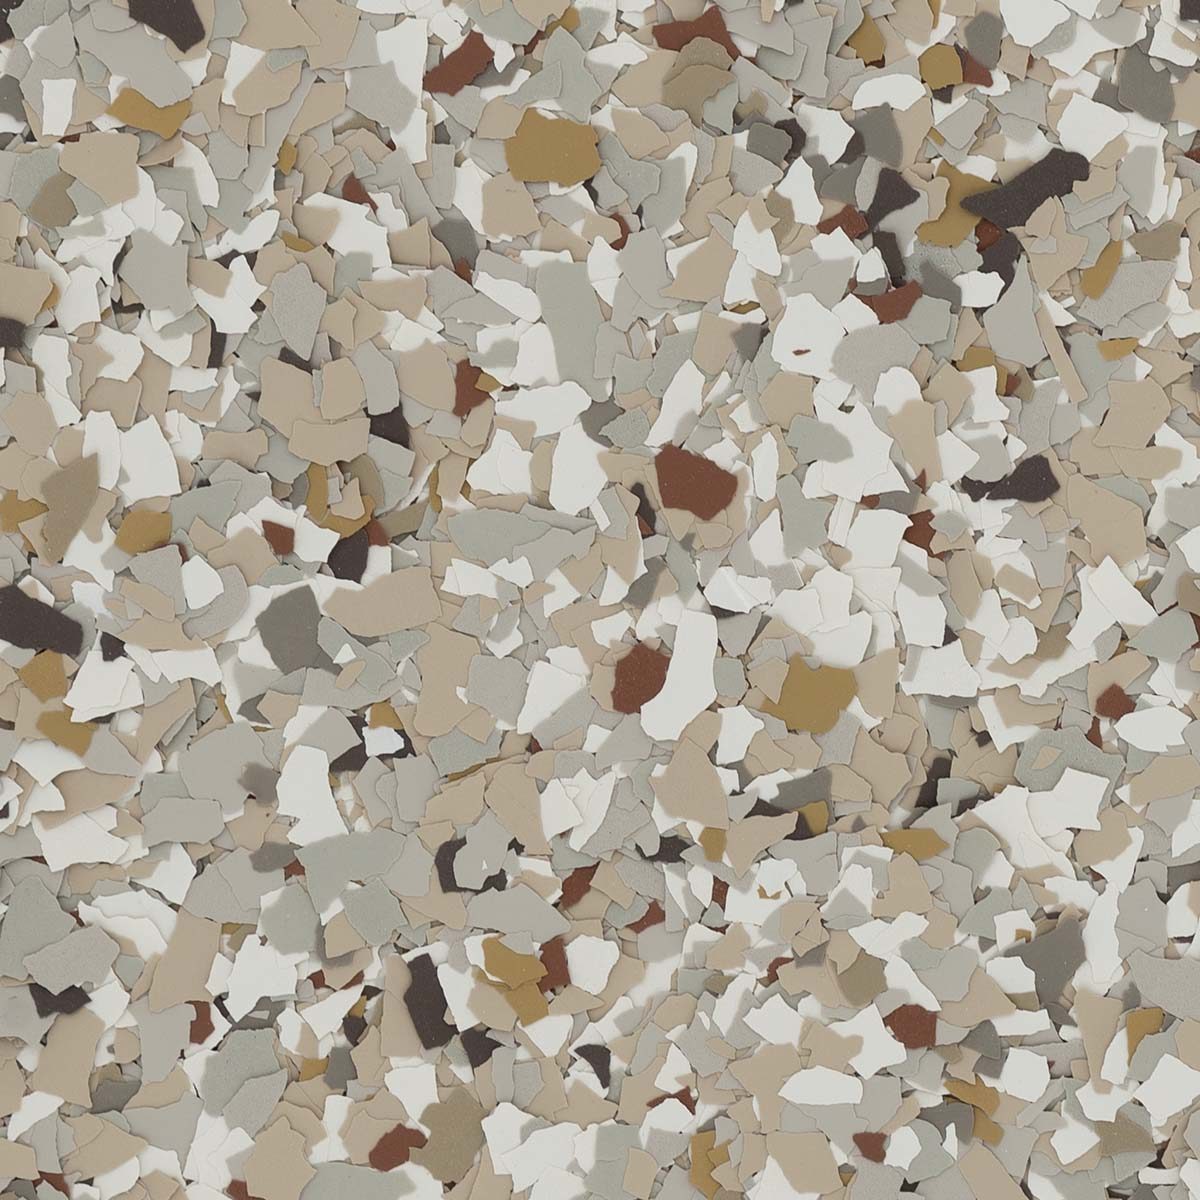
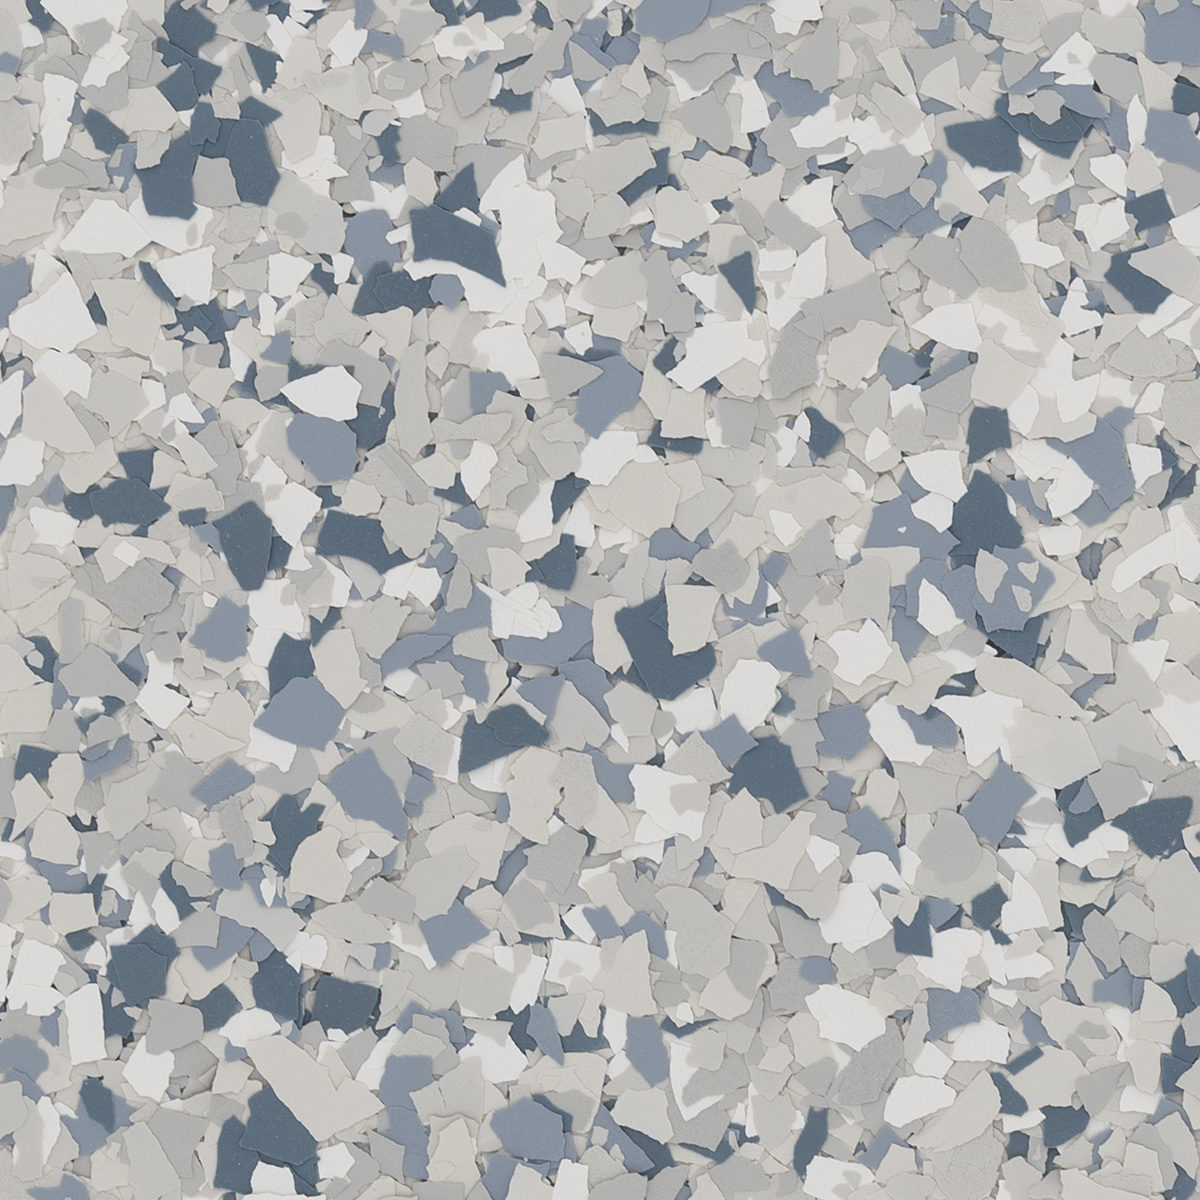
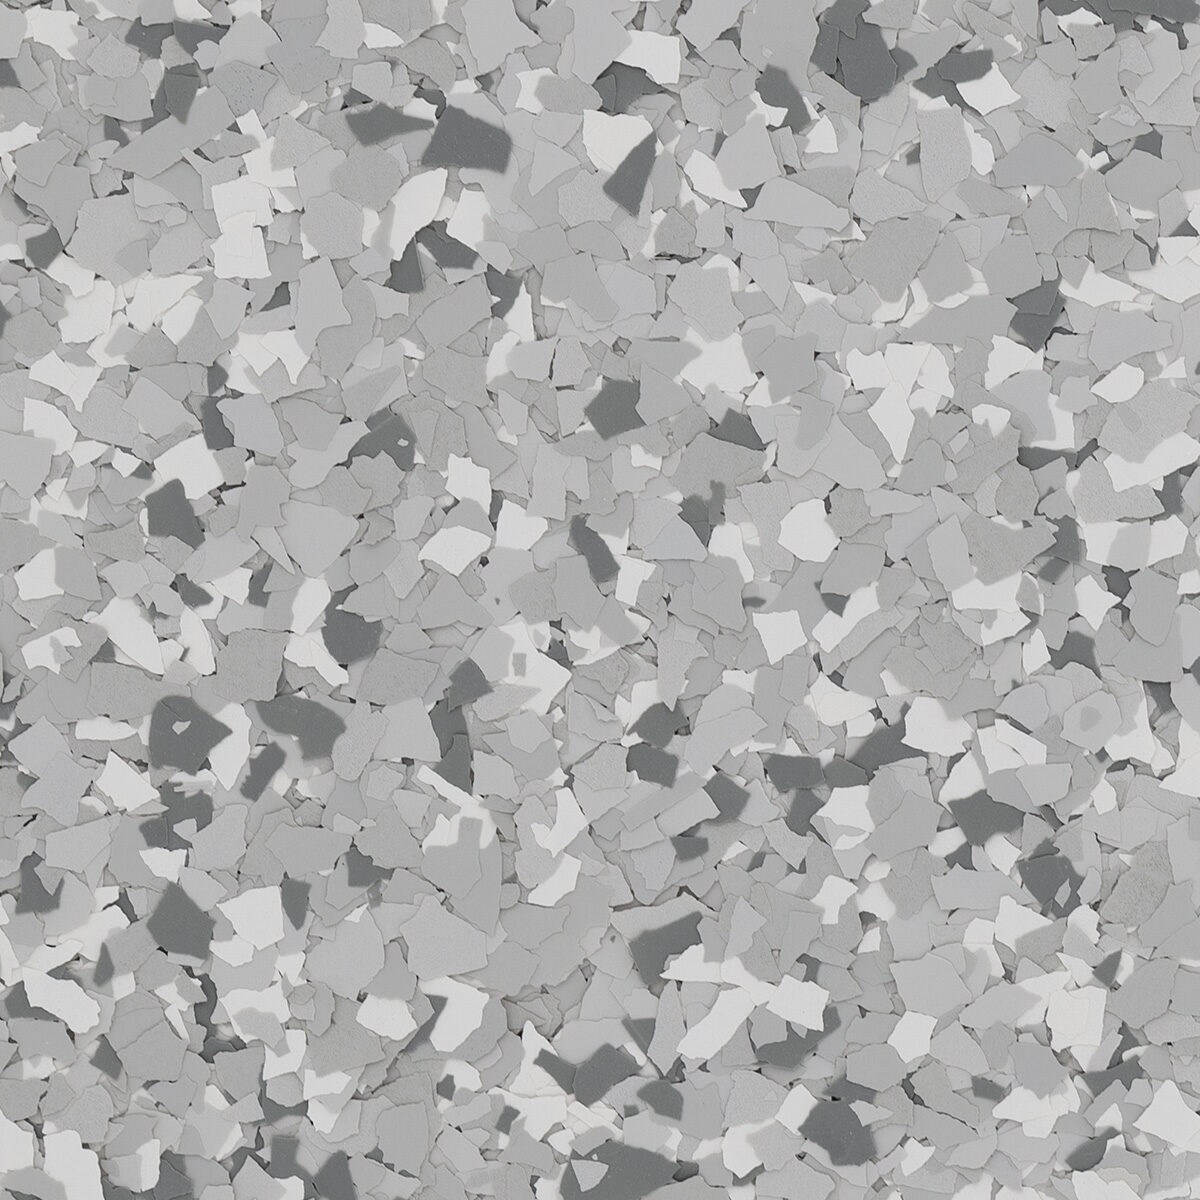
Decorative Flake Broadcast
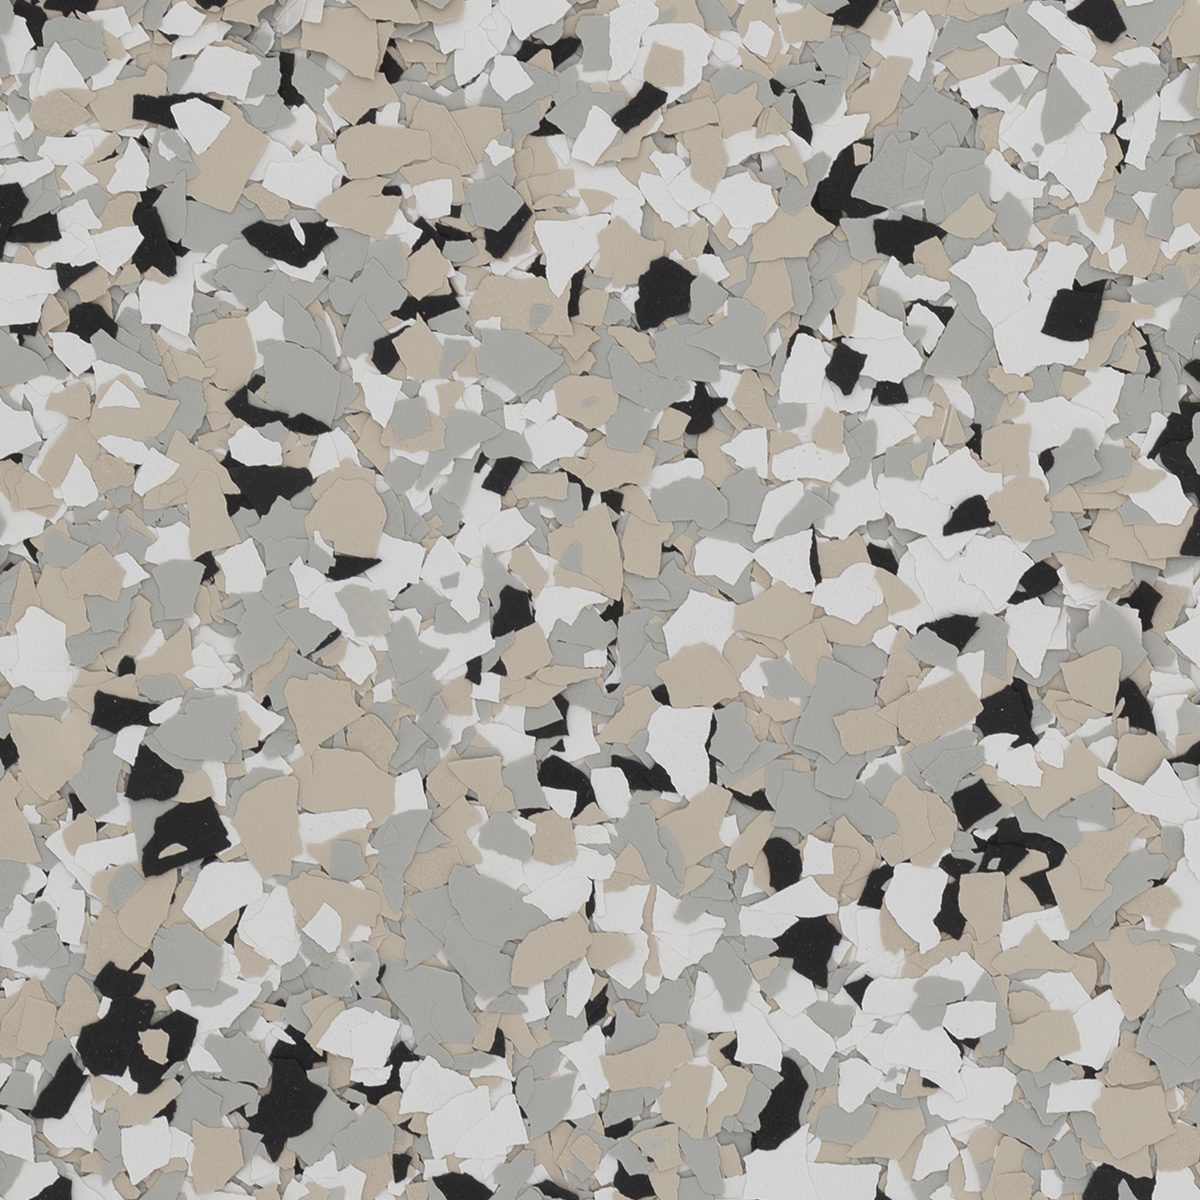
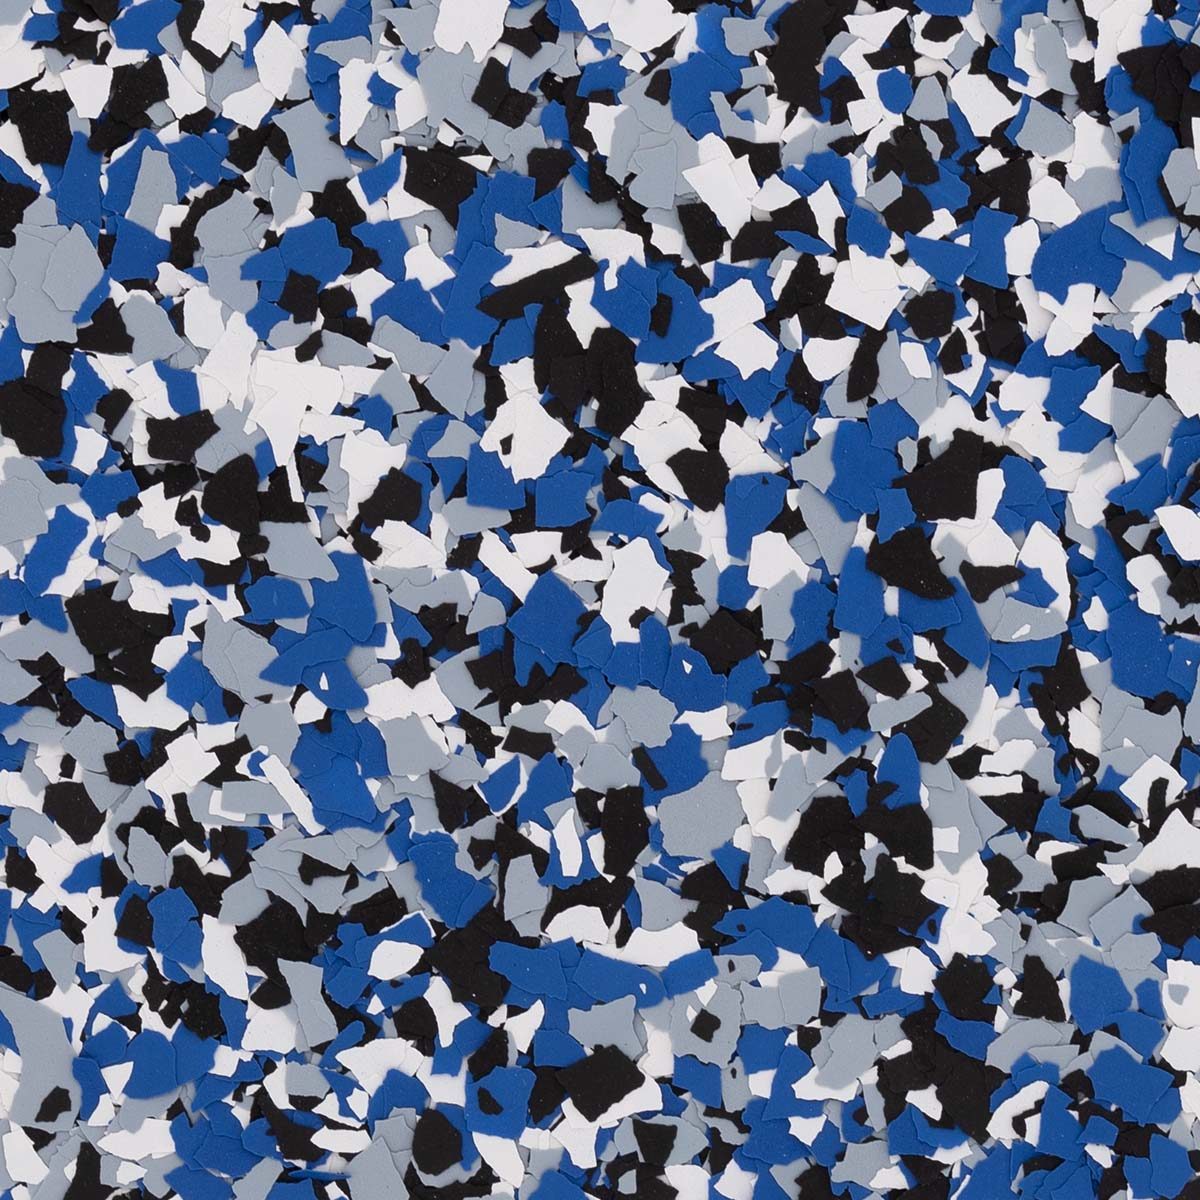
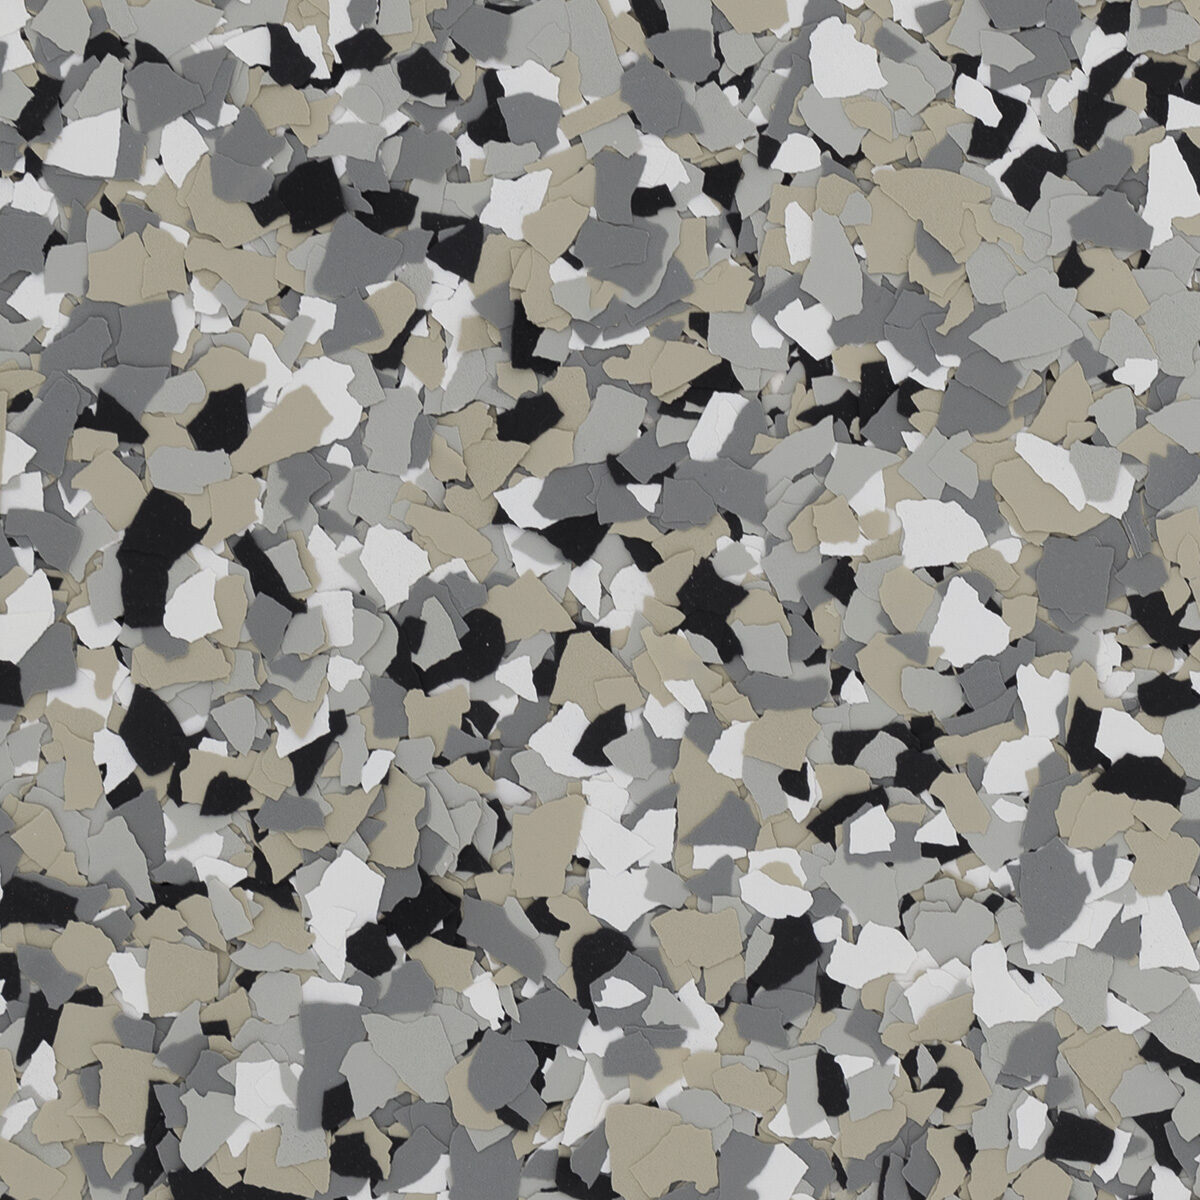
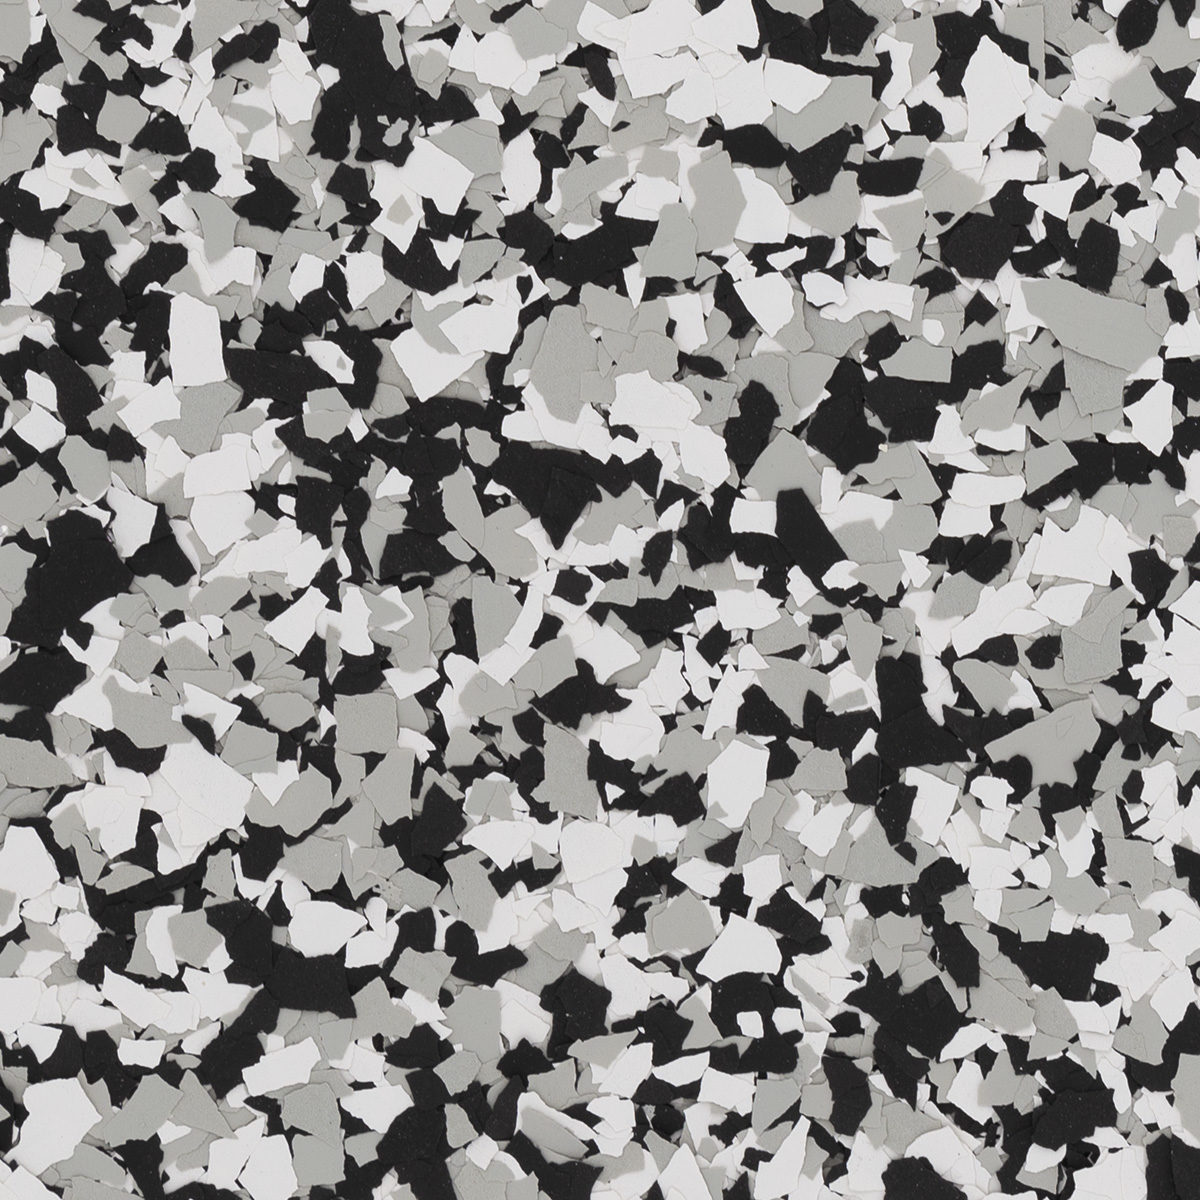
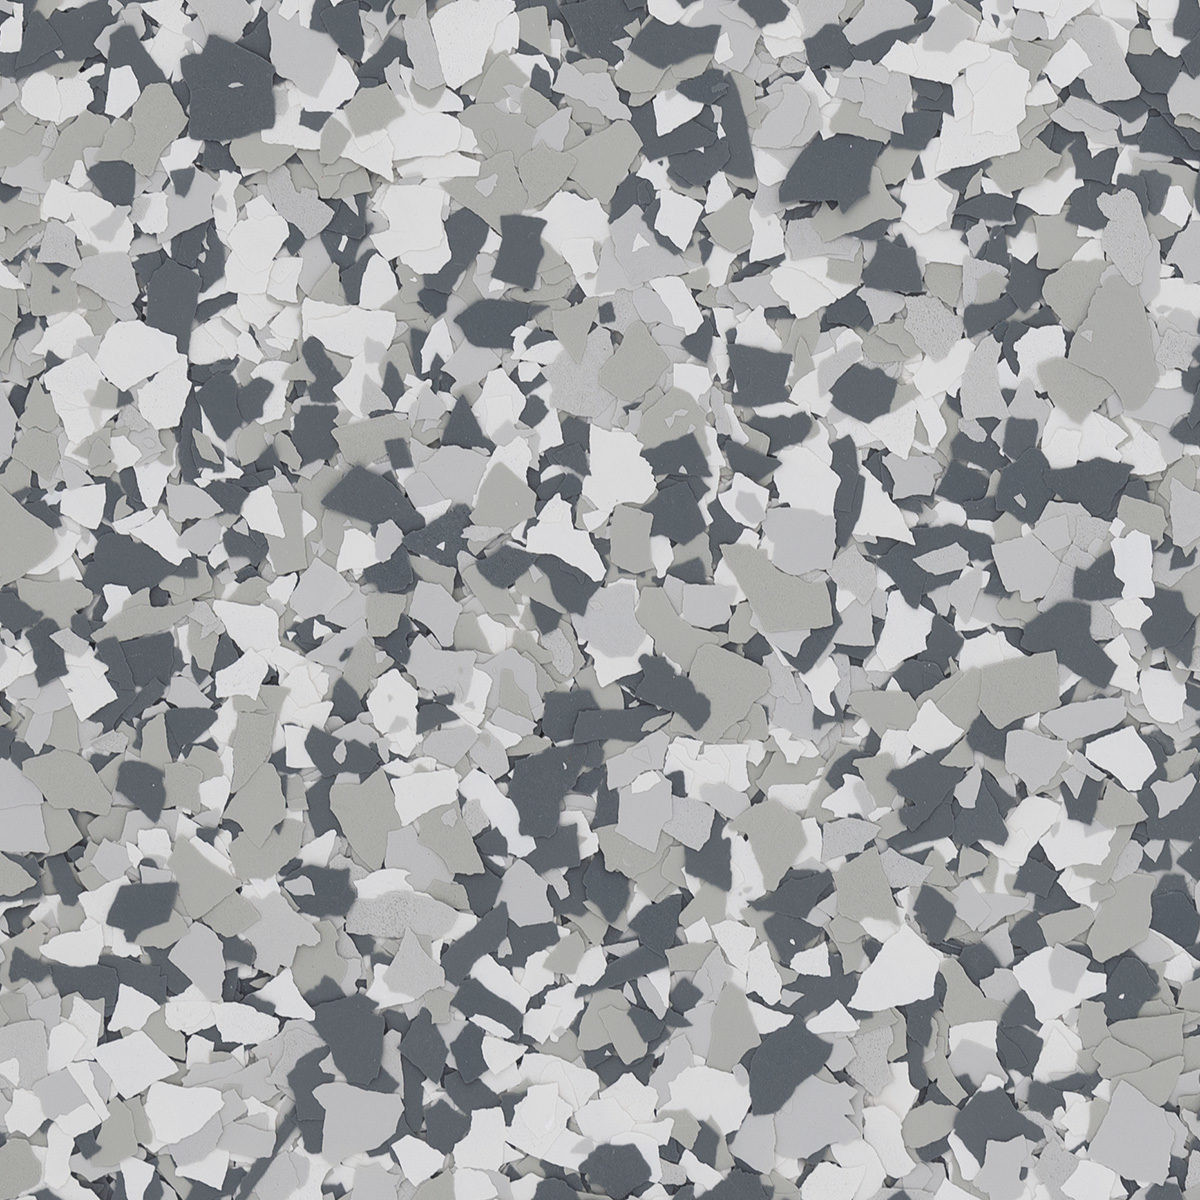
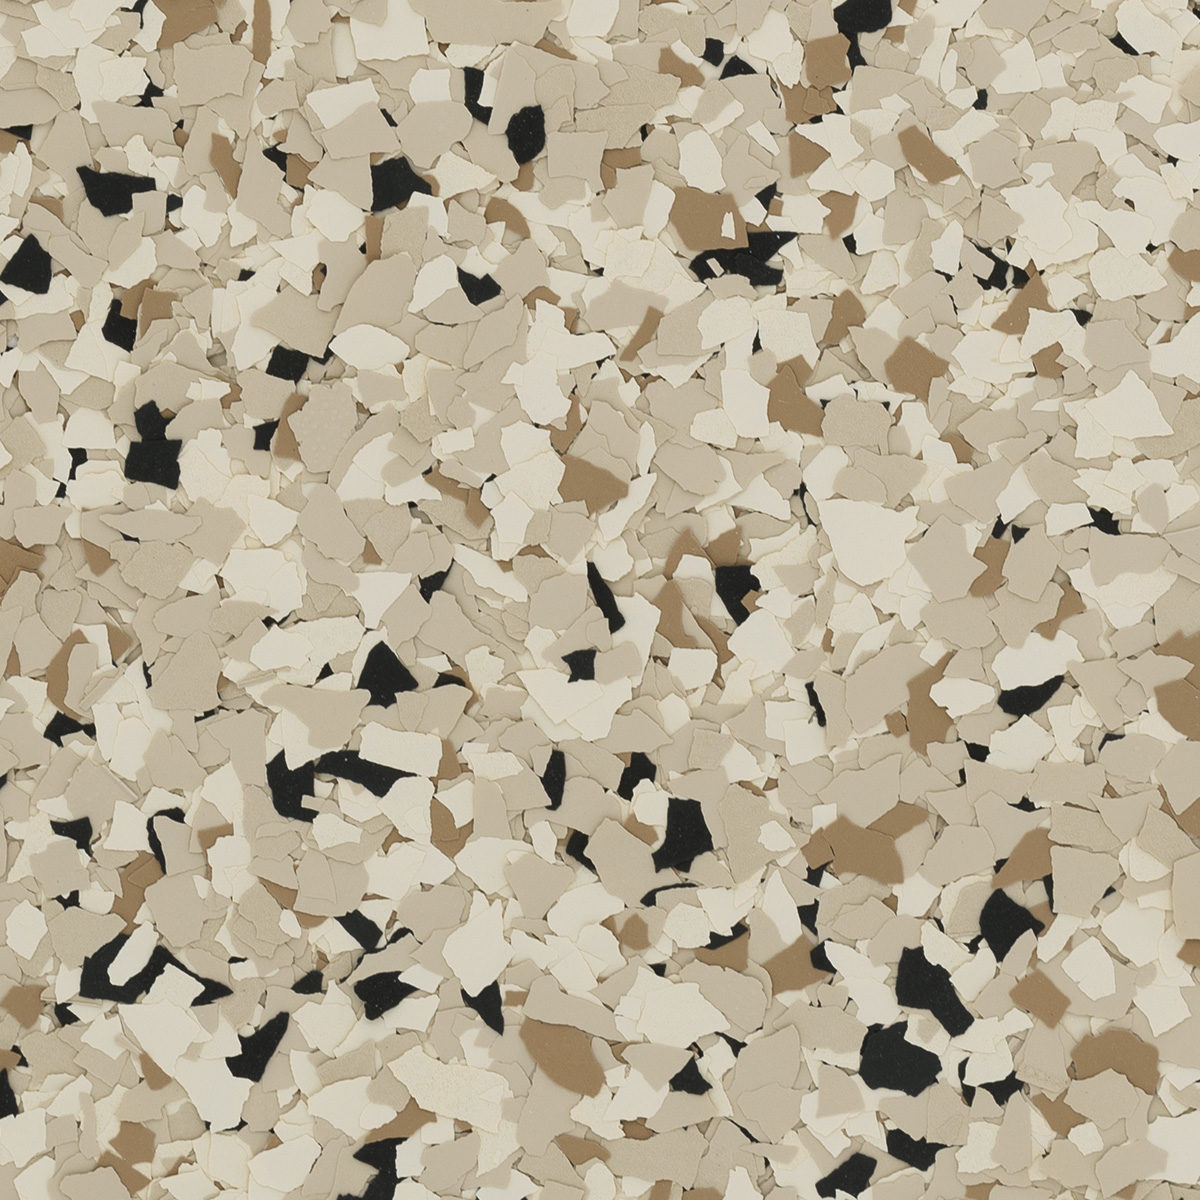
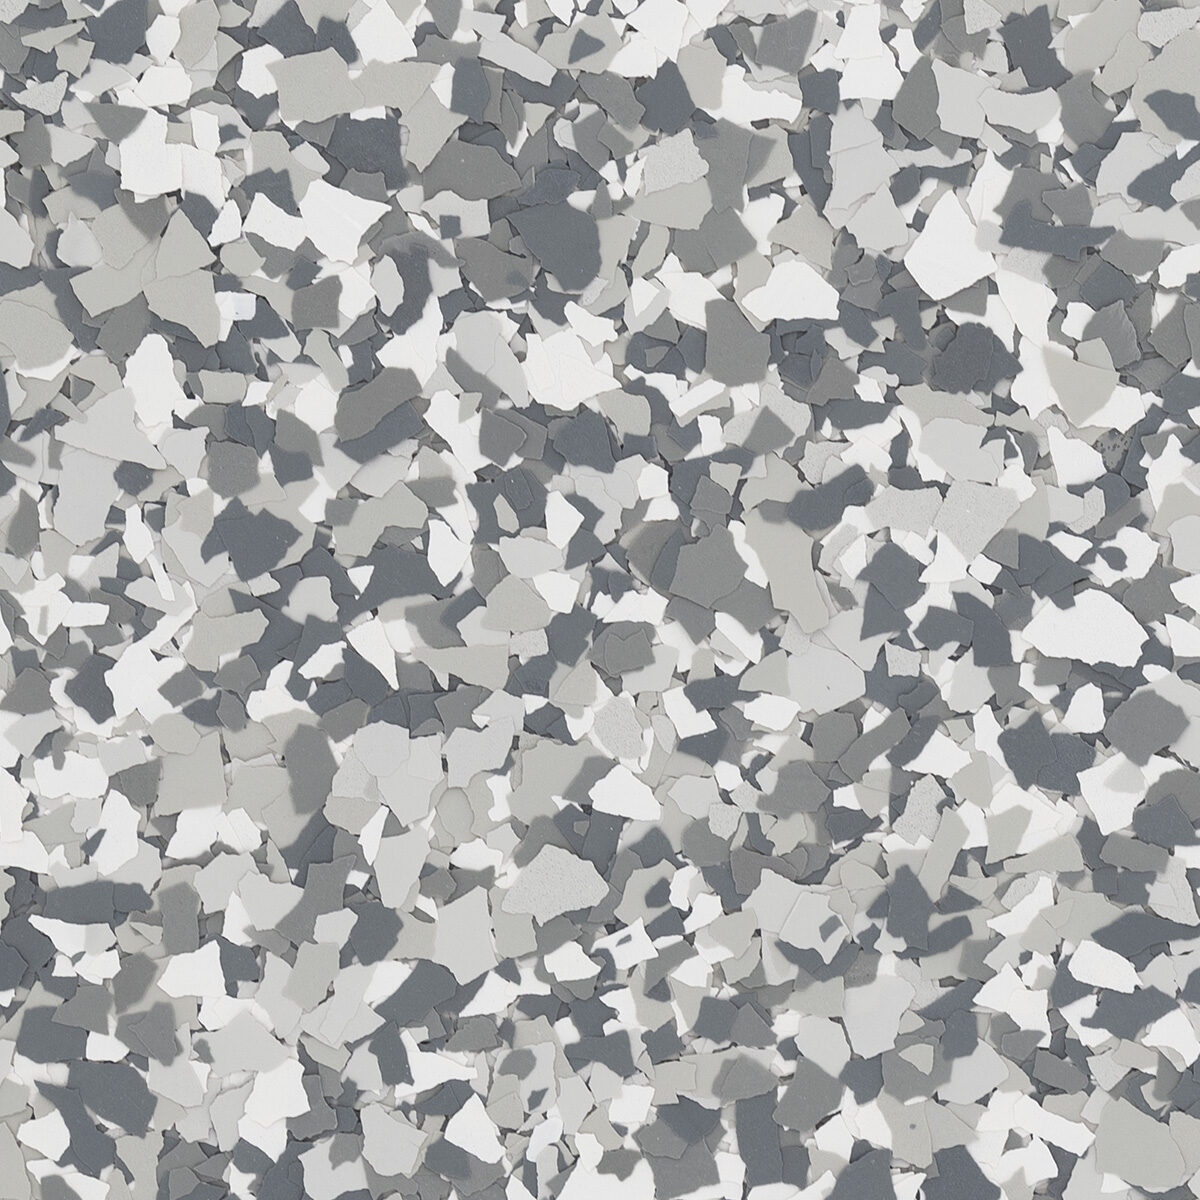
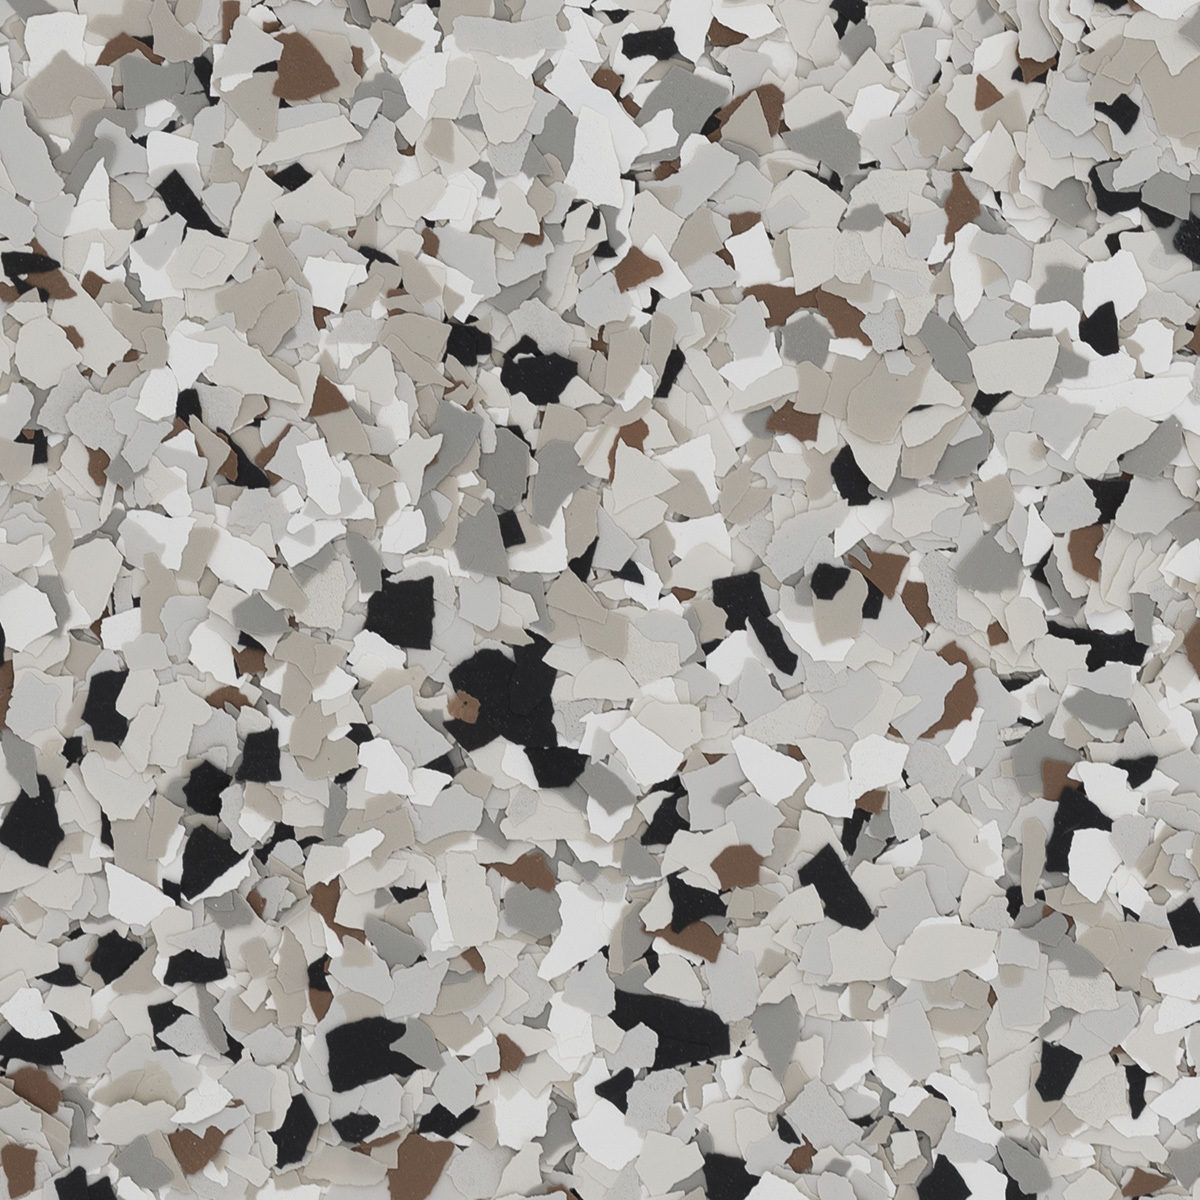
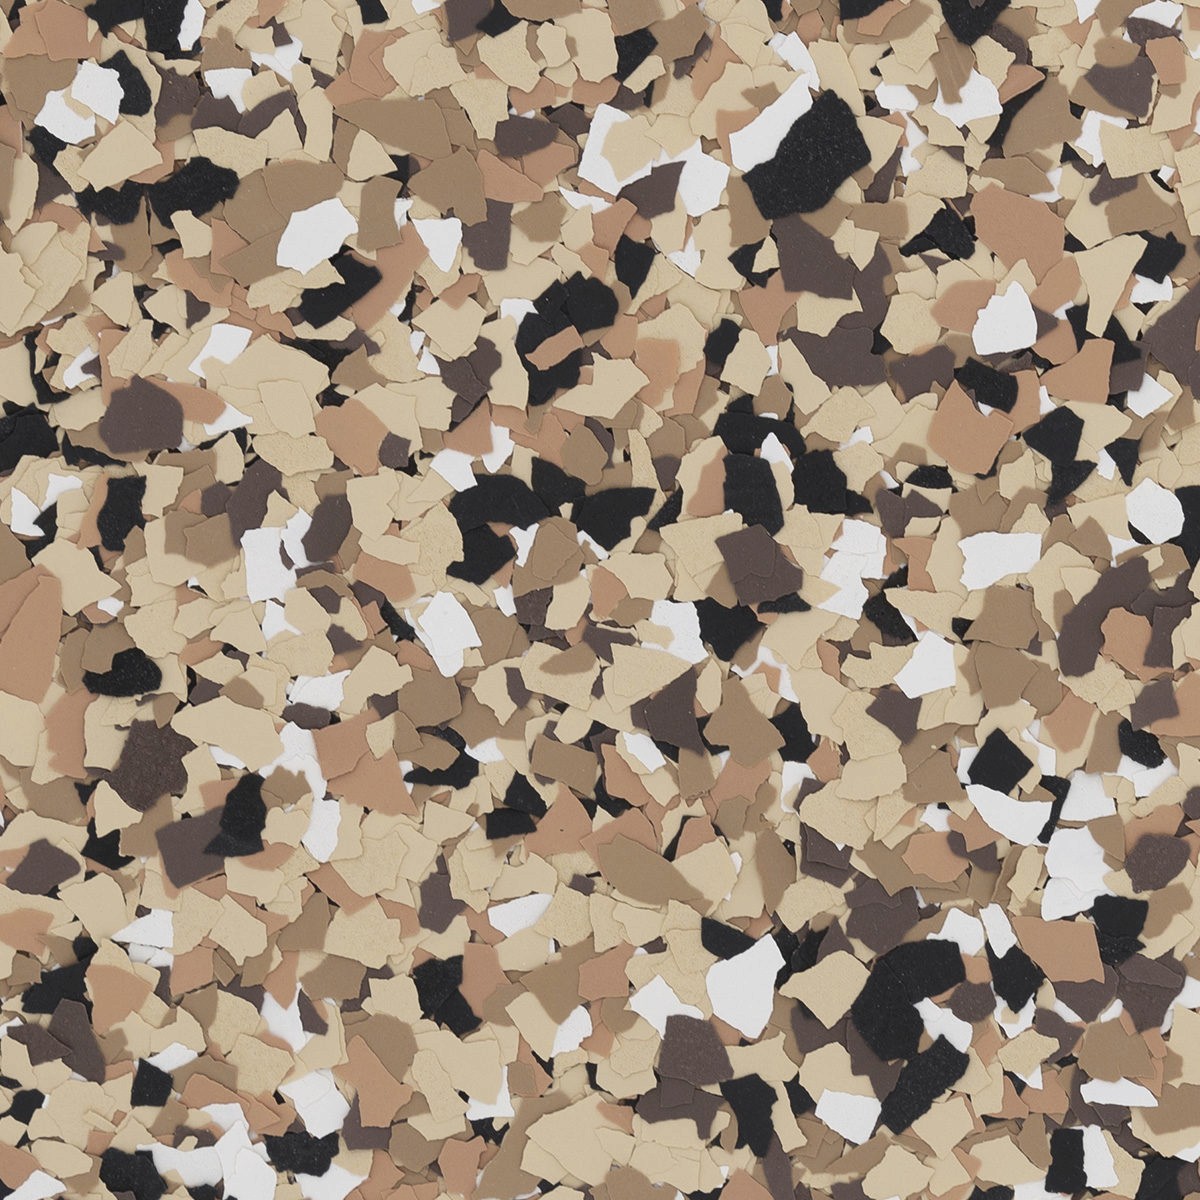
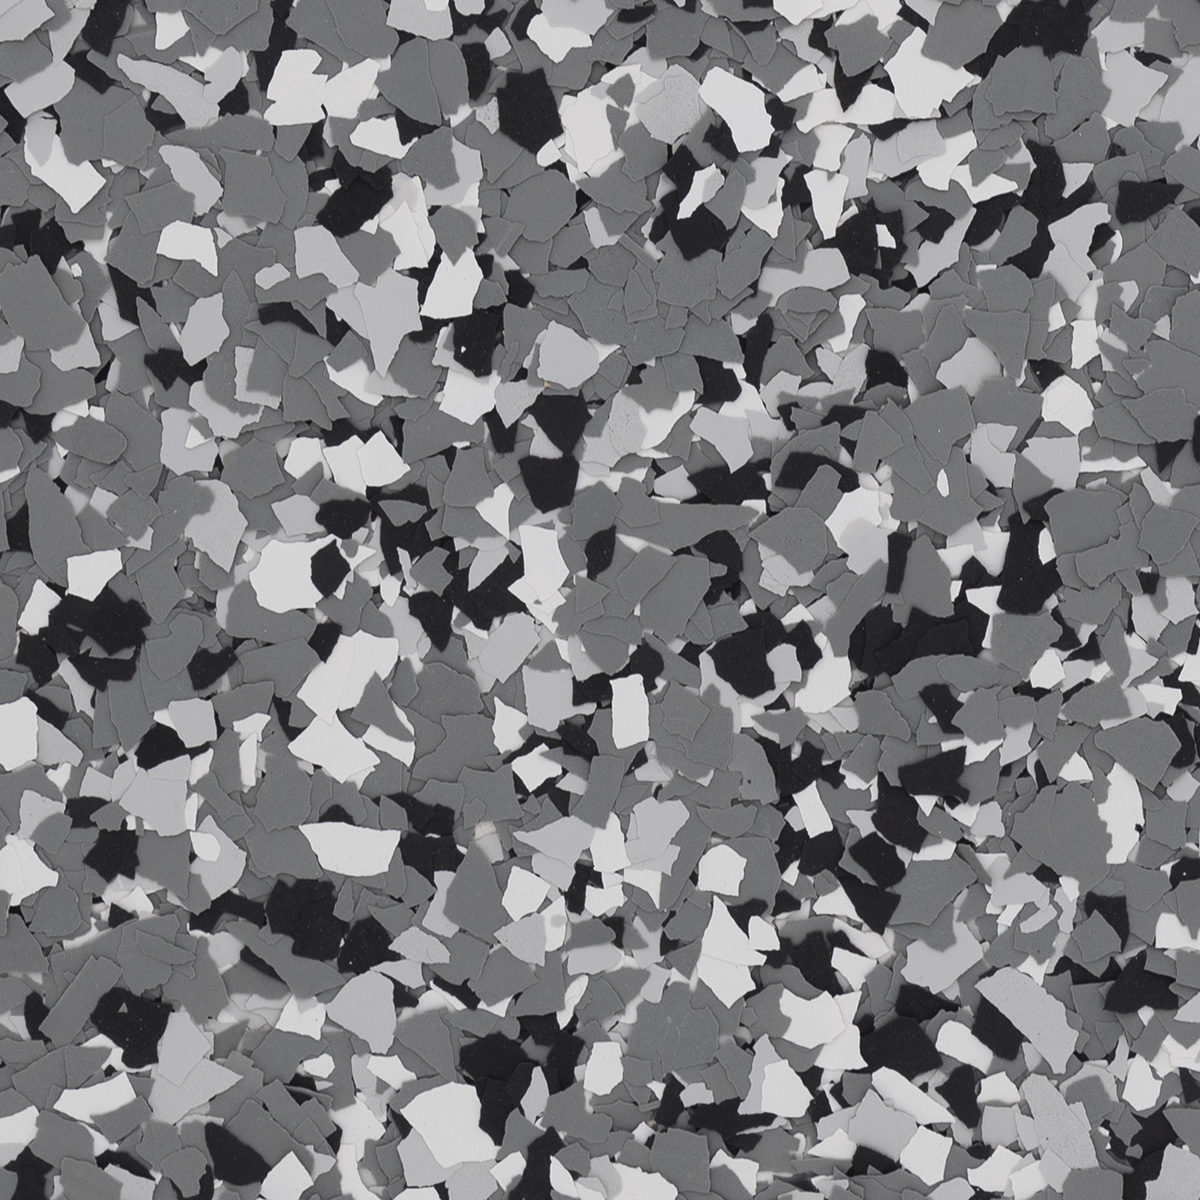
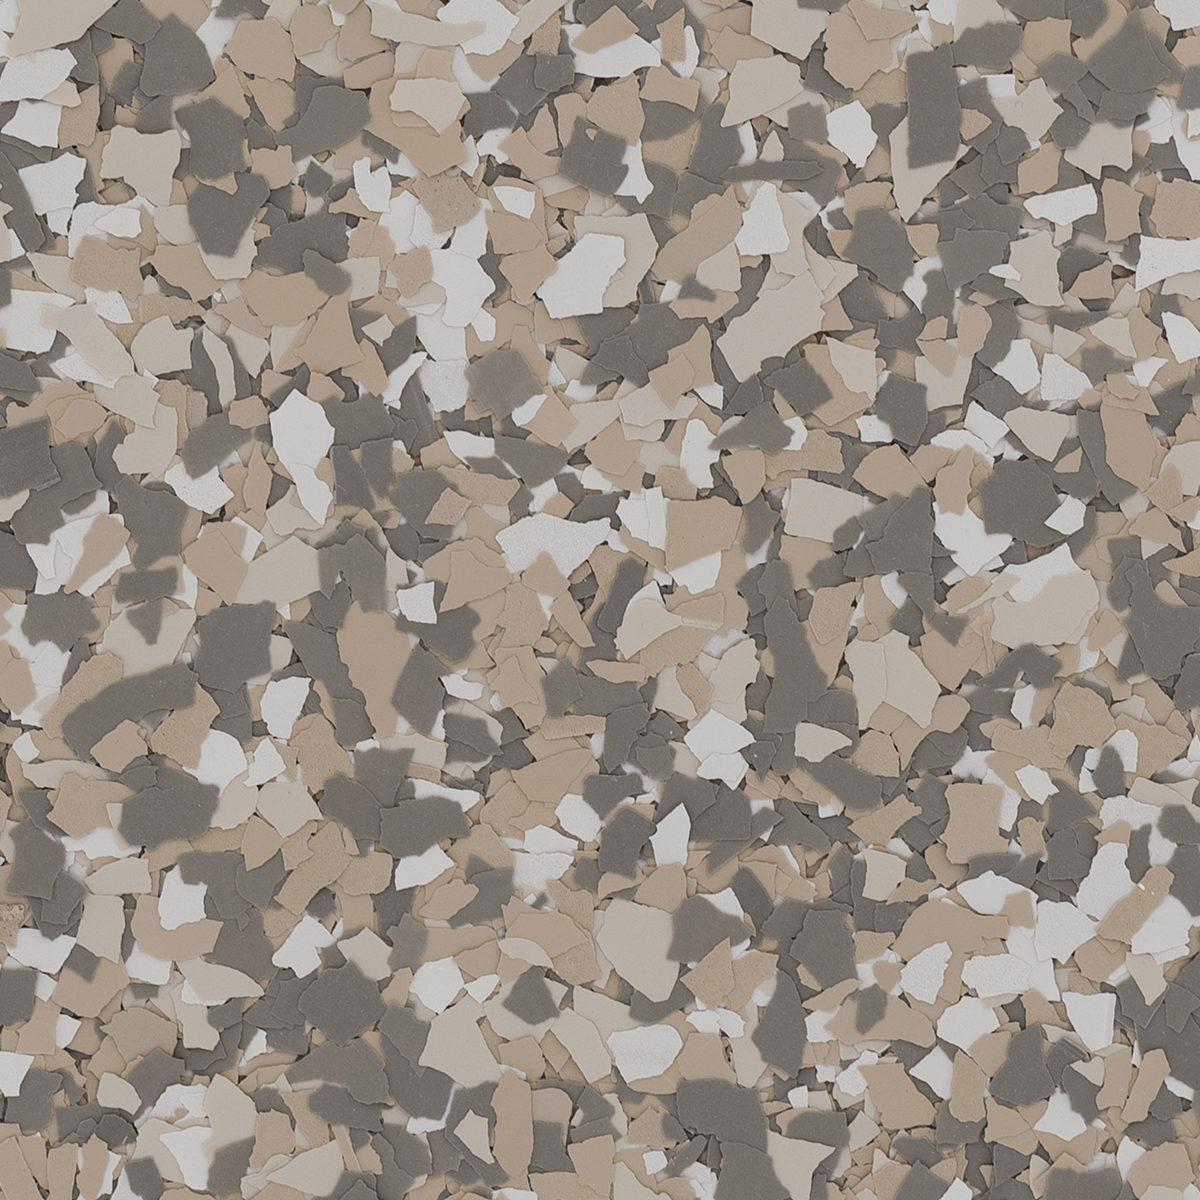
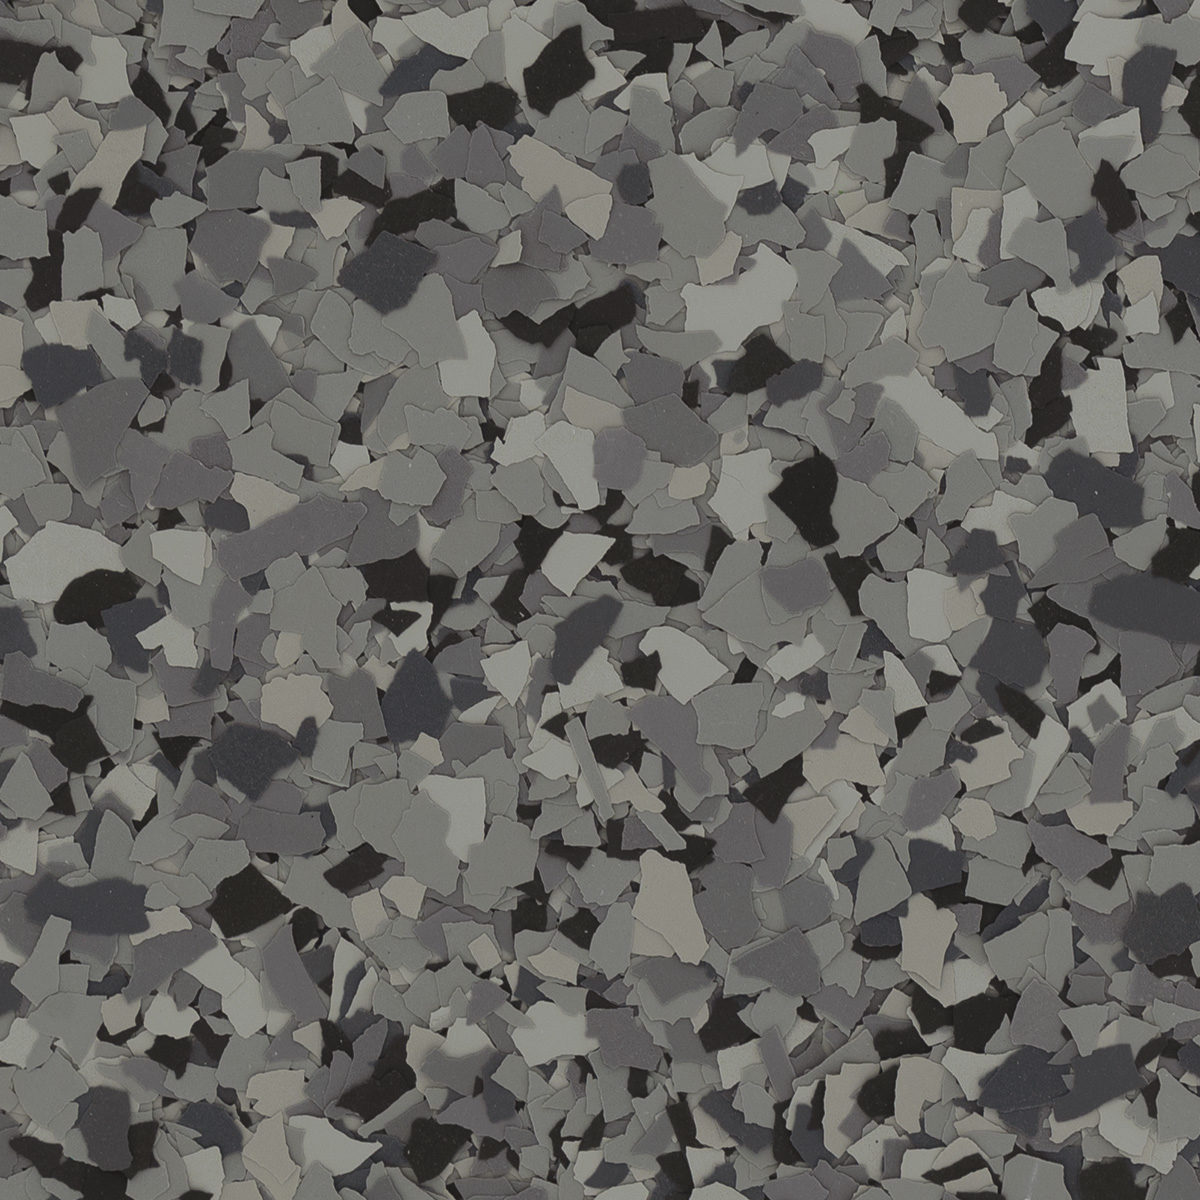
Decorative vinyl flakes are broadcast into the wet base coat to full coverage, creating your chosen color, texture, and added slip resistance.
Why it matters: Custom color, texture, and grip—all in one step.
07
Flake Scrape & Surface Cleanup
Once cured, excess flakes are scraped and removed to create a consistent surface. The floor is then cleaned and prepared for the final coat.
Why it matters: A clean, consistent surface ensures the top coat applies evenly and looks flawless.
08
Polyaspartic Top Coat Application
A clear polyaspartic top coat is applied to seal the entire system, providing long-term durability, UV stability, and resistance to chemicals, stains, and wear.
Why it matters: The top coat protects everything underneath. We use premium polyaspartic—not a cheap clear coat.
09
Final Inspection & Return to Service
After curing, a final inspection is completed to ensure quality. Your floor is ready for foot traffic within hours and vehicle traffic within 24 hours.
Why it matters: We don't leave until we're confident the job is done right.
FLOORING OPTIONS
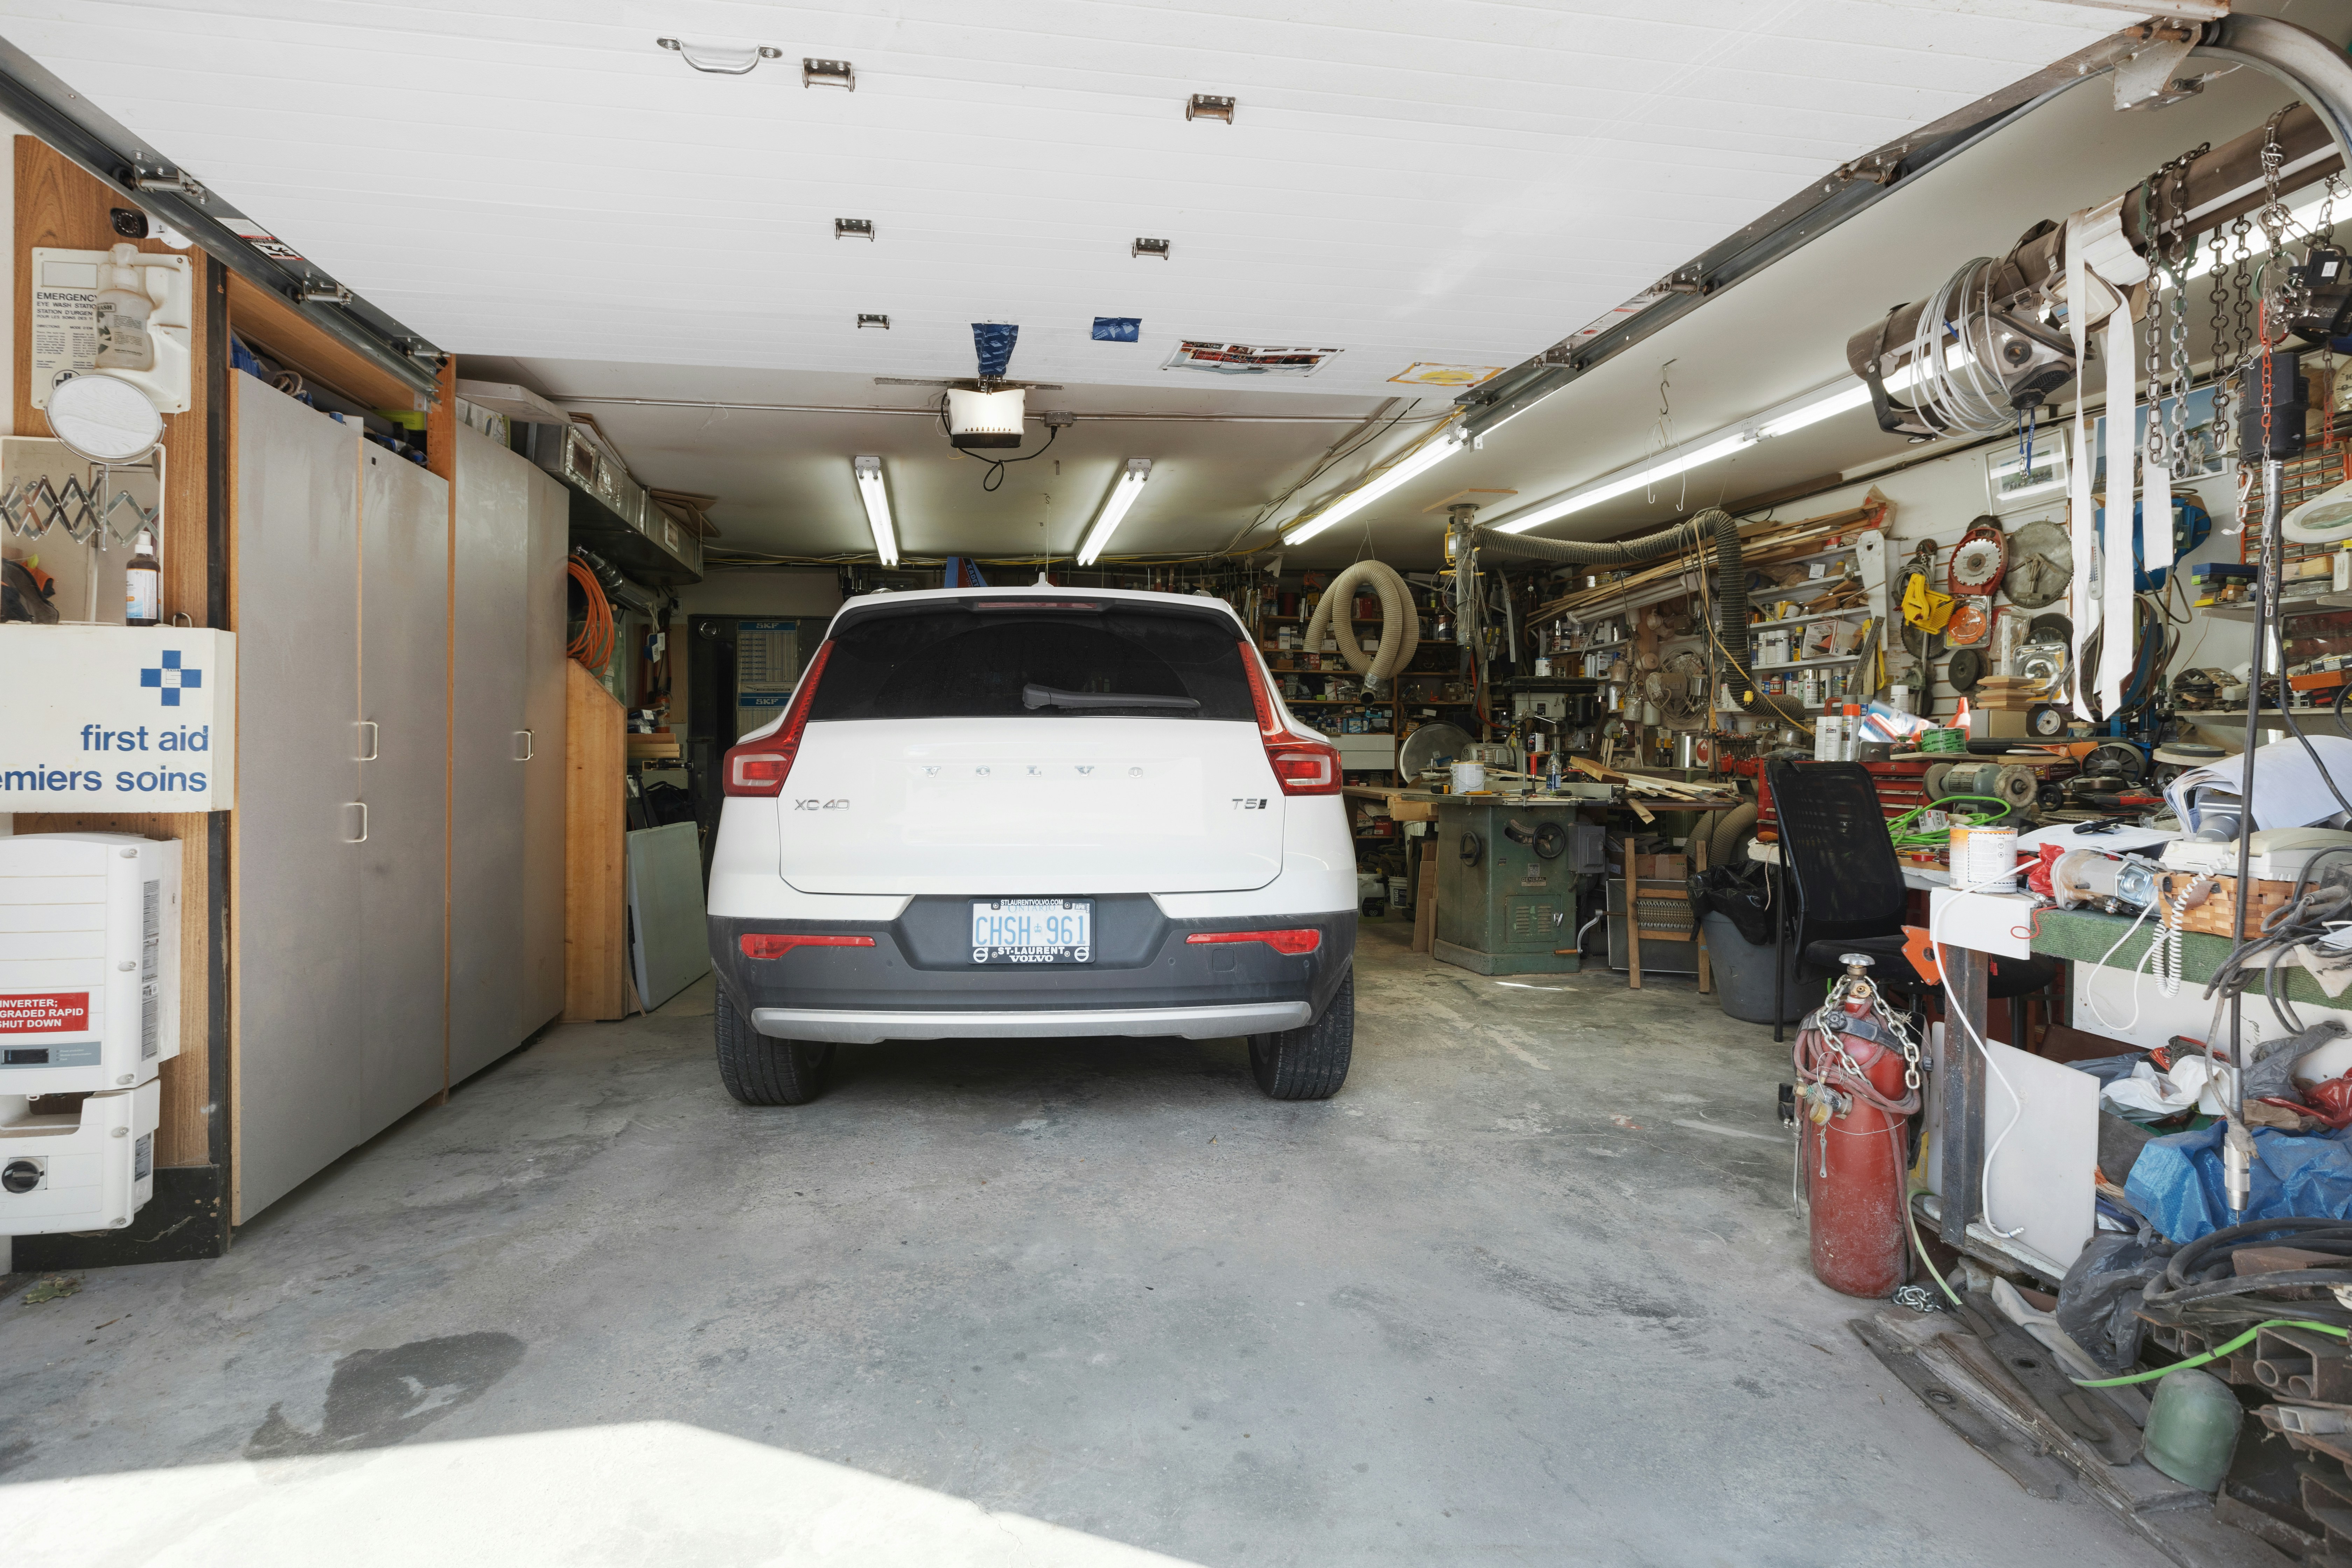
Your Garage, Your Style
We offer a range of decorative vinyl flake options, color combinations, and finish styles. During your inspection, we'll walk you through the options.